Hello Cyber Learners,
If you're interested in learning about Intrusion Detection Systems (IDS) and how to use Snort, then you're in the right place. In a previous blog post What is Intrusion Detection System | What is Intrusion Prevention System | IDS vs IPS, I covered the theoretical aspects of IDS and how they work. Now, in this blog post, I will provide you with a practical guide on how to install and use Snort on a Windows system. Snort is a powerful tool that can help you detect and prevent network intrusions, and this guide will show you how to set it up and use it effectively.
So, let's get started and learn how to use Snort to enhance your network security!
What is Snort?
Snort is an open-source network intrusion detection and prevention system (IDS/IPS) that analyzes network traffic in real-time and alerts administrators to potential security threats. It was created in 1998 by Martin Roesch and has since become one of the most widely used intrusion detection systems in the world.
Snort works by analyzing packets of data as they flow through a network, comparing them to a set of rules and signatures to identify potential security threats. It can detect a wide range of threats, including network-based attacks, port scans, and suspicious activity from individual hosts. its very importtant tool in Intrusion Detection Systems
![]()
In addition to its intrusion detection capabilities, Snort can also be configured to block traffic from known malicious sources, effectively acting as an intrusion prevention system. Snort can be used on various operating systems, including Linux, Windows, and MacOS. if you want to install Snort on linux, you can read my blog Snort - Intrusion Detection System & Prevention System | Installation & Use in Linux
Why should you buy or use Snort?
If you're interested in using Snort, you have a few different options. First, you can download and configure it on your computer or network. Once you have Snort up and running, you'll need to install the rules that tell it what to look for when monitoring network traffic. There are two main sets of rules available: the "Community Ruleset" and the "Snort Subscriber Ruleset." The Subscriber Ruleset is developed and tested by Cisco Talos, and is only available to subscribers. Subscribers receive the rules in real-time as they're released to Cisco customers. On the other hand, the Community Ruleset is freely available to all users, and is developed by the Snort community and reviewed by Cisco Talos. You can download these rules from the website, and deploy them in your network.
Install and Configure Snort
Snort can also be installed on Windows, although the installation process is a bit different from Linux. Here's a step-by-step guide to installing Snort on Windows:
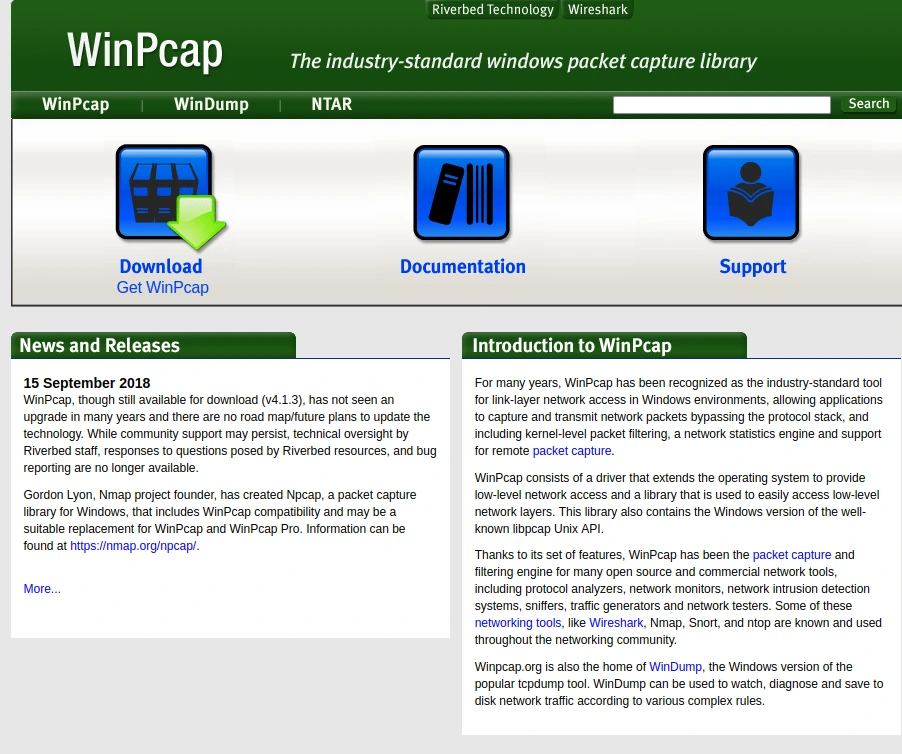
Step 1: Download and Install WinPcap
If you have wireshark installed on your system, then you can skip this step.
WinPcap is a network packet capture library that enables applications to capture and transmit network packets bypassing the protocol stack, and has been used by Snort for packet capture on Windows. You can download the latest version of WinPcap from its official website . Follow the installation wizard to install WinPcap on your system.
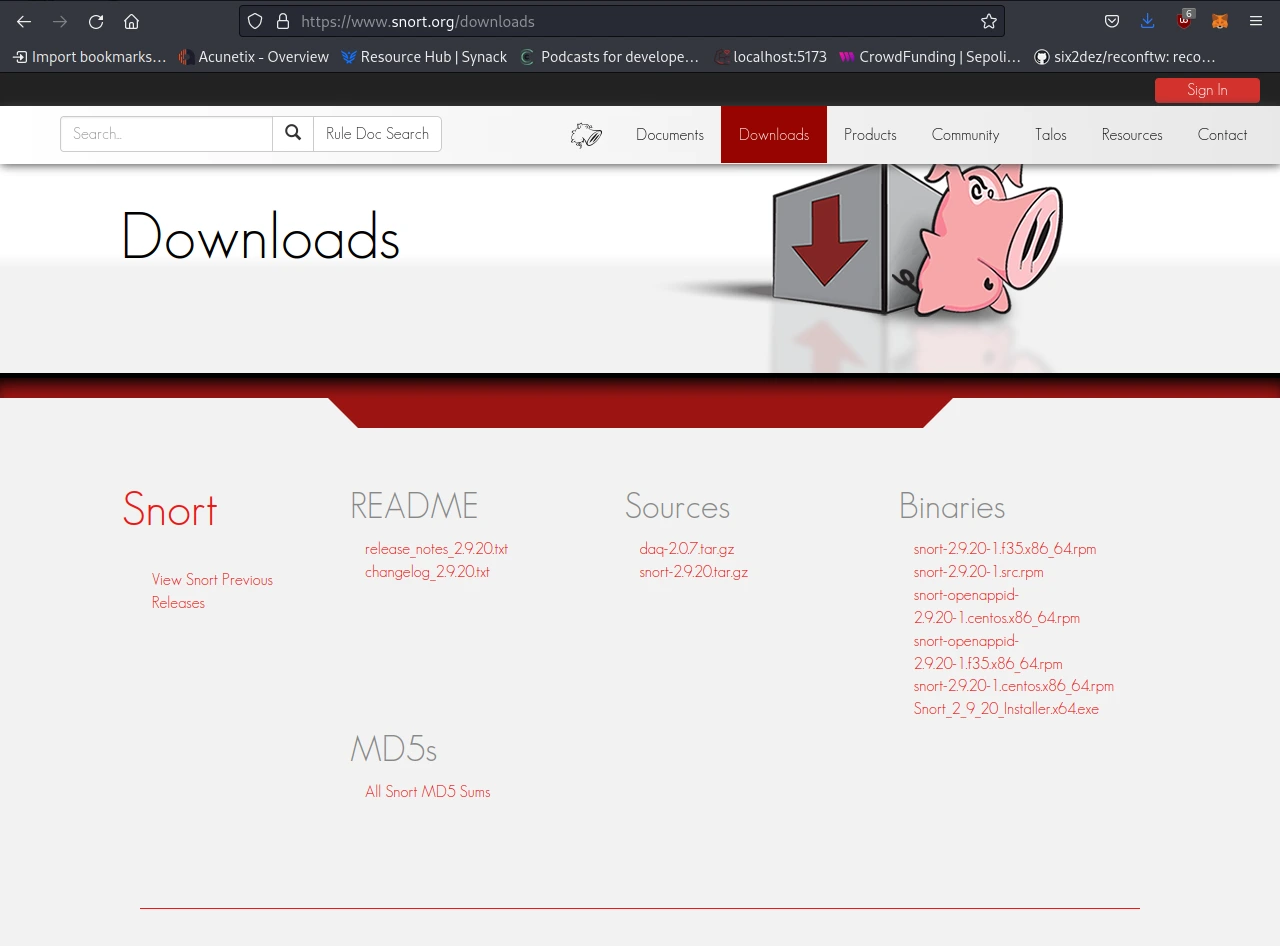
Step 2: Download Snort for Windows
You can download the latest version of Snort for Windows from its official website. Choose the version that matches your Windows architecture (32-bit or 64-bit).
Don't know where to check Windows architecture?
Search system configuration on your Windows machine and open it, look for System Type. If system type is x64 it means 64bit or if it is x32 then it is 32 bit.
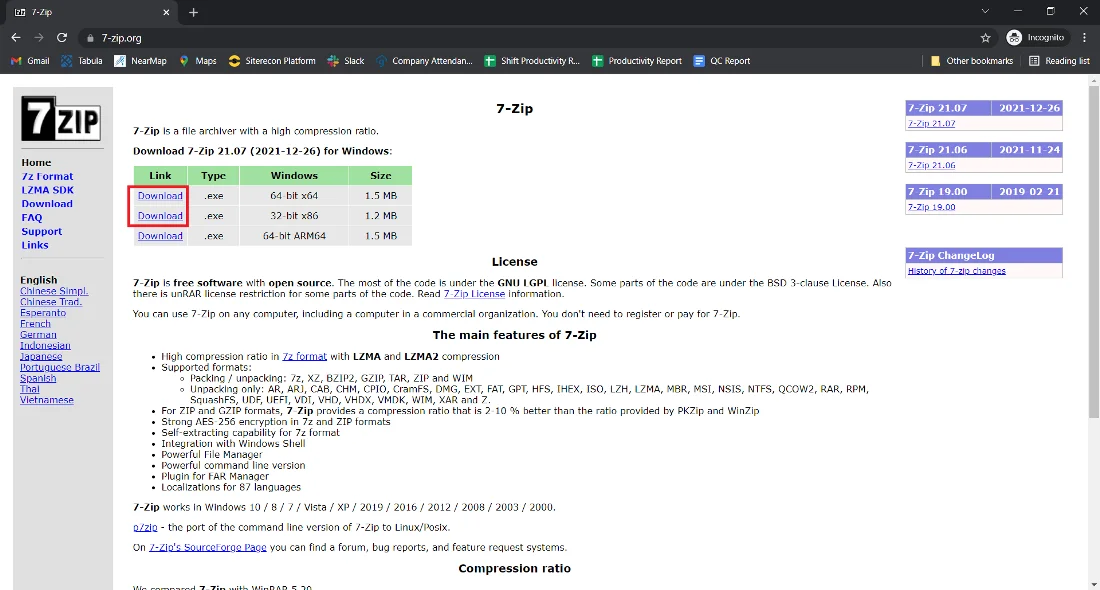
Step 3: Now we will install Snort that we have downloaded above. So extract it by using any software. In my case, I am using 7zip.
In the below screenshot, you can see I have opened the download link of 7zip.
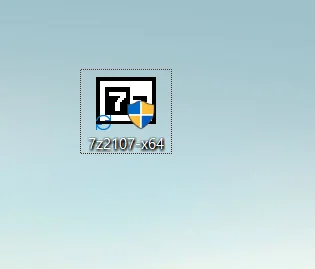
Step 4: After downloading run the file file in your system. The below screenshot shows you the icon of 7zip that you are supposed to run.
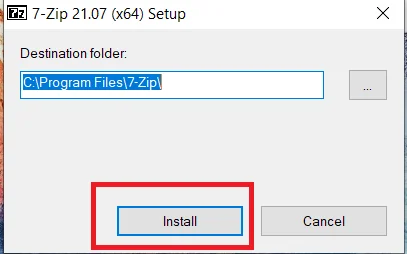
Step 5: Once installation starts you can choose the location where you want to install 7zip.
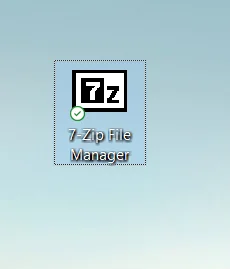
Step 6: After installing 7-Zip you will see an icon on the desktop. refer to the below screenshot.
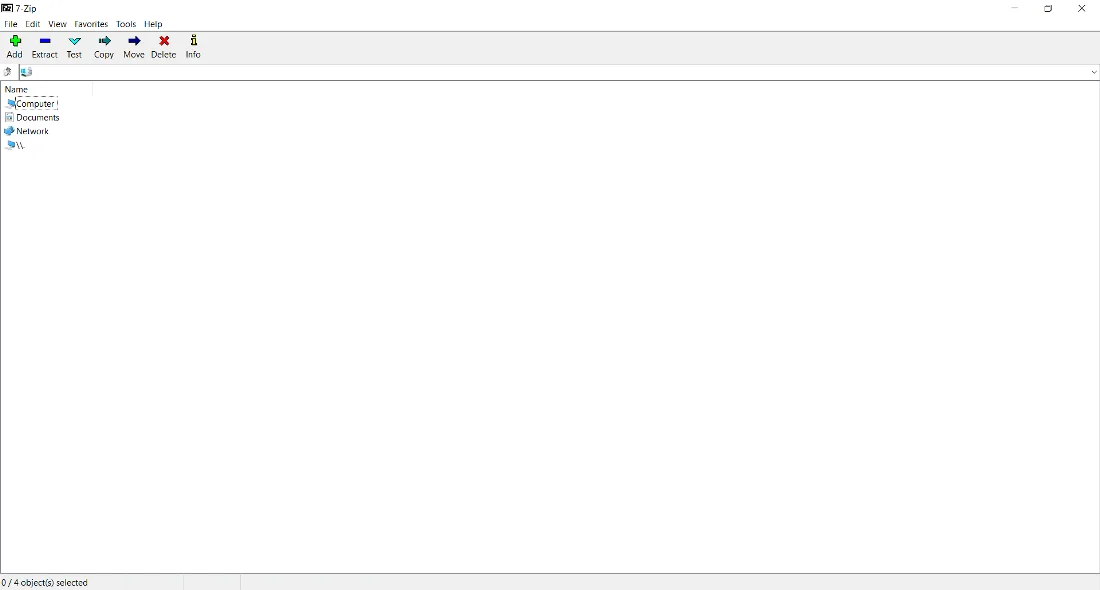
Step 7: Now run the 7-Zip software and see the interface.
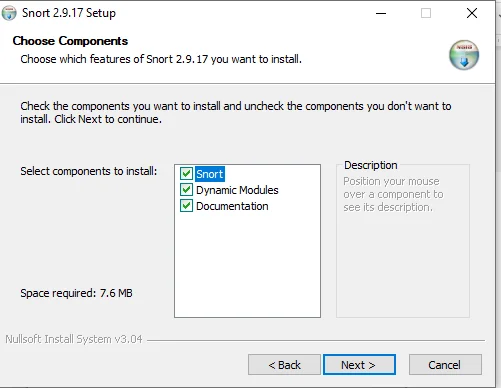
Step 8: Extract the Snort Archive
Extract the Snort archive to a directory on your system using 7zip. For example, you can extract it to the C:\Snort directory.
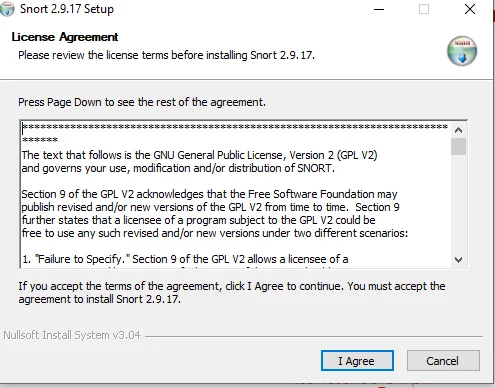
Step 9: Click on I Agree.
Step 10: Click on Next.
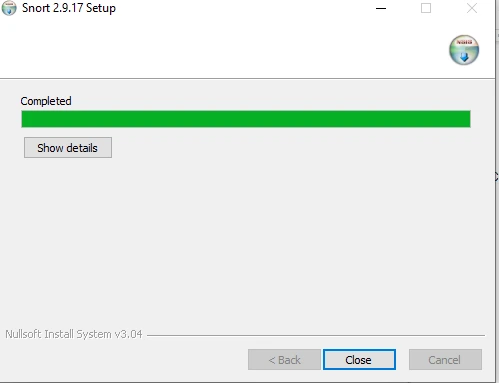
Step 11: After a few seconds you will see the below screen which means Snort is installed.
Step 12: Configure Snort
Now, let's configure our Intrusion Detection System.
Snort configuration is similar to Linux, with a few differences. Navigate to the C:\Snort\etc directory and open the snort.conf file in a text editor. You can make changes to the configuration file according to your needs.
Here's an example configuration:
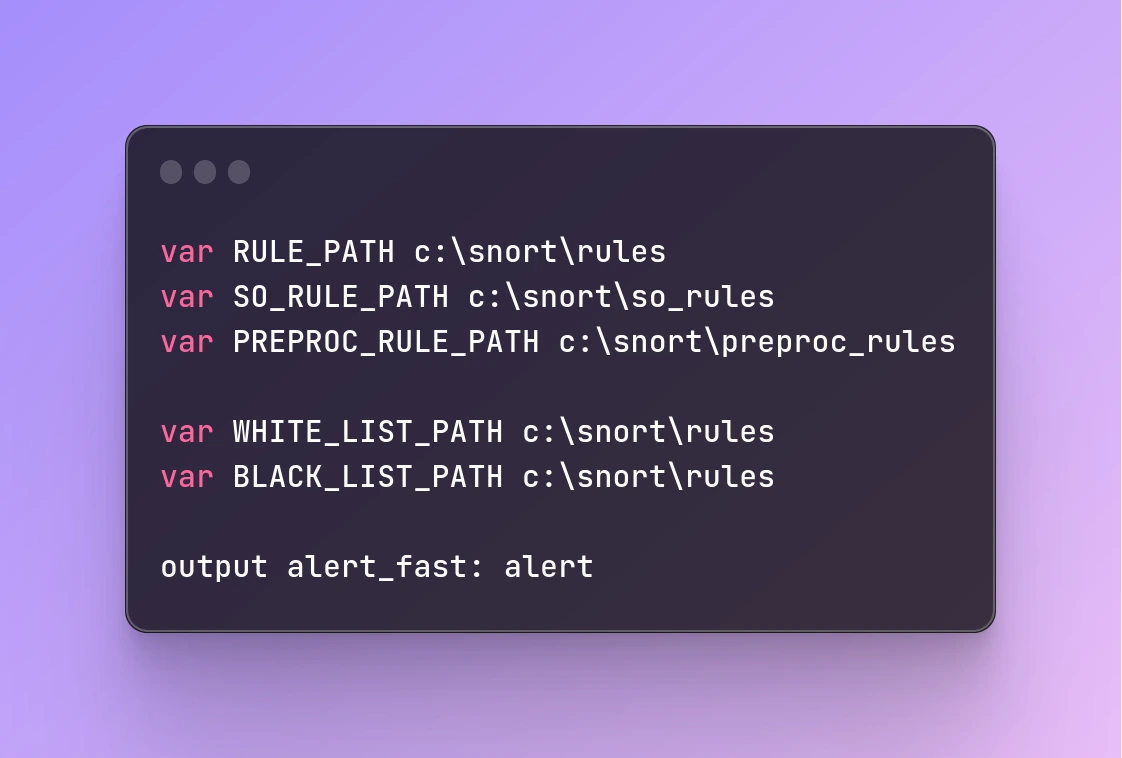
var RULE_PATH c:\snort\rules
var SO_RULE_PATH c:\snort\so_rules
var PREPROC_RULE_PATH c:\snort\preproc_rules

var WHITE_LIST_PATH c:\snort\rules
var BLACK_LIST_PATH c:\snort\rules

output alert_fast: alert
Note that the output plugin in Windows is different from Linux. Here, we are using the "alert_fast" plugin.
Step 13: Start Snort
To start Snort on Windows, open a command prompt and navigate to the directory where you extracted Snort.
For example, if you extracted Snort to the C:\Snort directory, enter the following command:
C:\Snort\bin\snort.exe -i1 -c C:\Snort\etc\snort.conf
This command starts Snort with the configuration file you edited earlier. The "-i1" option tells Snort to listen on the first network interface on your system.
That's it! You have successfully installed and configured Snort on Windows. You can now use it to monitor your network for intrusions.
Conclusion
In this blog, we covered the basics of Snort, including its features, benefits, and installation and configuration process on Windows.
In conclusion, Snort is a valuable tool for any organization looking to enhance its network security and protect against cyber threats. Its open-source nature and wide range of features make it a popular choice for network security professionals. We look forward to exploring its advanced threat-detection capabilities in the next part of this blog.
Related Blogs
- What is Intrusion Detection System | What is Intrusion Prevention System | IDS vs IPS
- Snort - Intrusion Detection System & Prevention System | Installation & Use in Linux
- What is Mobile Device Security | How to Hack a Phone | Practical Demo
- What is Website Hacking | Web Application Penetration Testing | Lab Setup
- What is OSINT? | OSINT Framework | Tools for OSINT | Best OSINT Techniques
- What is Smurf Attack? | What is the Denial of Service Attack? | Practical DDoS Attack Step-By-Step Guide
- What is Packet Sniffing? | How to Perform Packet Sniffing | Practical Demo on Wireshark
- What is Metasploit Framework | What is Penetration Testing | How to use Metasploit