This blog is all about the process we have to follow to make a USB drive bootable from windows as well as from Linux in some easy steps.
System Requirements
- Rufus Software
- Image or ISO file of Desired Operating System
- USB Drive of at least 8GB
How to Create Windows 10 Bootable USB
In this section, you will get to know how to make a windows 10 bootable USB. So, Let's get started and see step by step process.
Make sure to back up the data of that USB drive because all the data of that USB will be erased during this process.
Step 1- Download the Rufus app from the official website
Step 2- Currently I am using Kali Linux so you can download it from its official website. If you want to download other popular ISO then click on Windows 10, Ubuntu etc.
Step 3- Plug in a USB drive in the running computer
Step 4- Open the Rufus app then a screen will appear, Check the below image for reference
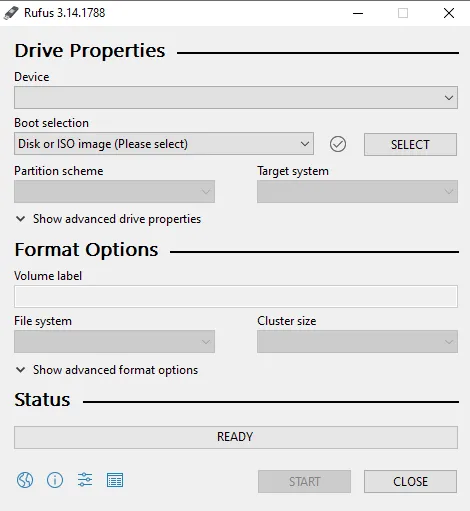
Step 5- When you attach the USB drive, the software will automatically detect the USB (In multiple USB case, you need to select the USB).
Step 6- After selecting the Device or drive, we will proceed towards the boot selection menu in which we will see the three options
- Non-bootable- This ultimately shows that the drive cannot be used to boot a computer
- Free DOS- It is a Free Software version of MS-DOS, which is fully compatible with MS-DOS
- Disk or ISO image- It allows the creation of a bootable USB from an ISO image
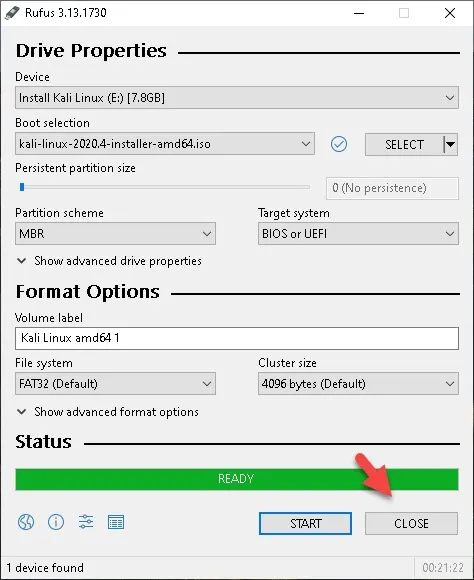
Step 7- Now we will select the third option which is Disk or ISO image then we will click on the Select option and browse our image.
Rest all the options will be filled automatically, So we can click on Start and wait for few minutes depends on your System. After that, your USB drive will be bootable.
Now reboot your computer to make it in use.
Now after making Kali Linux bootable USB drive by following the above steps, insert the USB drive into your system's USB port. Now turn on your system and at the same time, we have to press the function keys like F2, F10, or F12 key but remember, those keys may be vary according to your machine brand. To know which one is yours, just check out this blog Boot Menu Option Keys For All Computers and Laptops
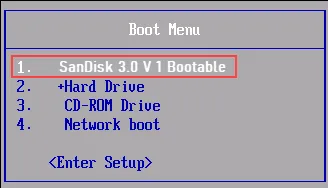
After that, a new screen will appear which is called as BIOS menu. Check the below image for reference.

BIOS menu can look different depending on the computer model and have different names. Structures are mostly the same
Step 11- You can also permanently change the boot order by tapping the UP or DOWN arrow keys from the keyboard which can change the order of the boot drives. Choose your USB drive on the top of the list to start from it only if the USB is plugged in your computer.
Step 12- Press the [f10] key to save and Exit your current changes, then your system will automatically open the boot order.
Then again press the BIOS menu key ( F2, F10, or F12) to open the Installer
Other Software for Creating Bootable USB Drive
There is multiple software available in the market like Rufus, You can also use WinUSB to make your USB Drive Bootable. It is another good software
WinUSB
Following are the Quick step by step process to make a bootable USB Drive by using WinUSB
Step 1: Plugin a USB drive in a running computer and launch WinUSB
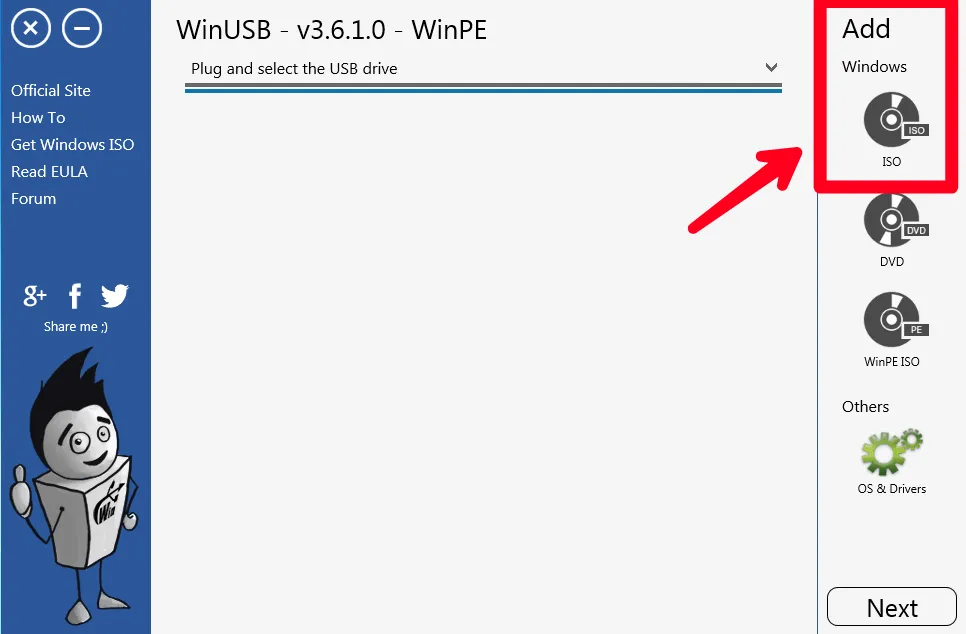
Step 2: In the Right corner, You will see a windows section. You have to right-click in ISO option and the Image or ISO file
Step 3: Now, Click on Start and wait for few minutes
After the above steps, Now again you need to restart your system and press some function key. Repeat the above step
How to Create Linux Bootable USB
In this section, You will get to know all the process you have to follow to create a bootable USB in Linux. The steps will be the same for all Linux like Ubuntu, CentOS etc.
But here I am showing you the demonstration on ubuntu.
Bootable Linux USB with dd command
The dd command is a Command Line Utility basically for Linux Operating System whose purpose is to read, write or Edit data from a USB drive
Following steps, you will have to follow to create bootable USB Linux
Step 1- Open your Terminal by tapping 'Crtl+Alt+T'
Step 2- Insert the following command in your terminal
dd if=<file> of=<device> bs=4M; sync; eject <device>
where 'file' is the downloaded ISO file or image and device is the addressing the USB Drive.
dd if=/home/techofide/Downloads/'Kali Linux amd64 1' of=/dev/sdb bs=4M
In sdx, the 'x' may vary according to your system as "x" denotes your disk name and the rest of the command will be the same.

Step 3- If you want to know your disk name then insert lsblk as shown in the below image
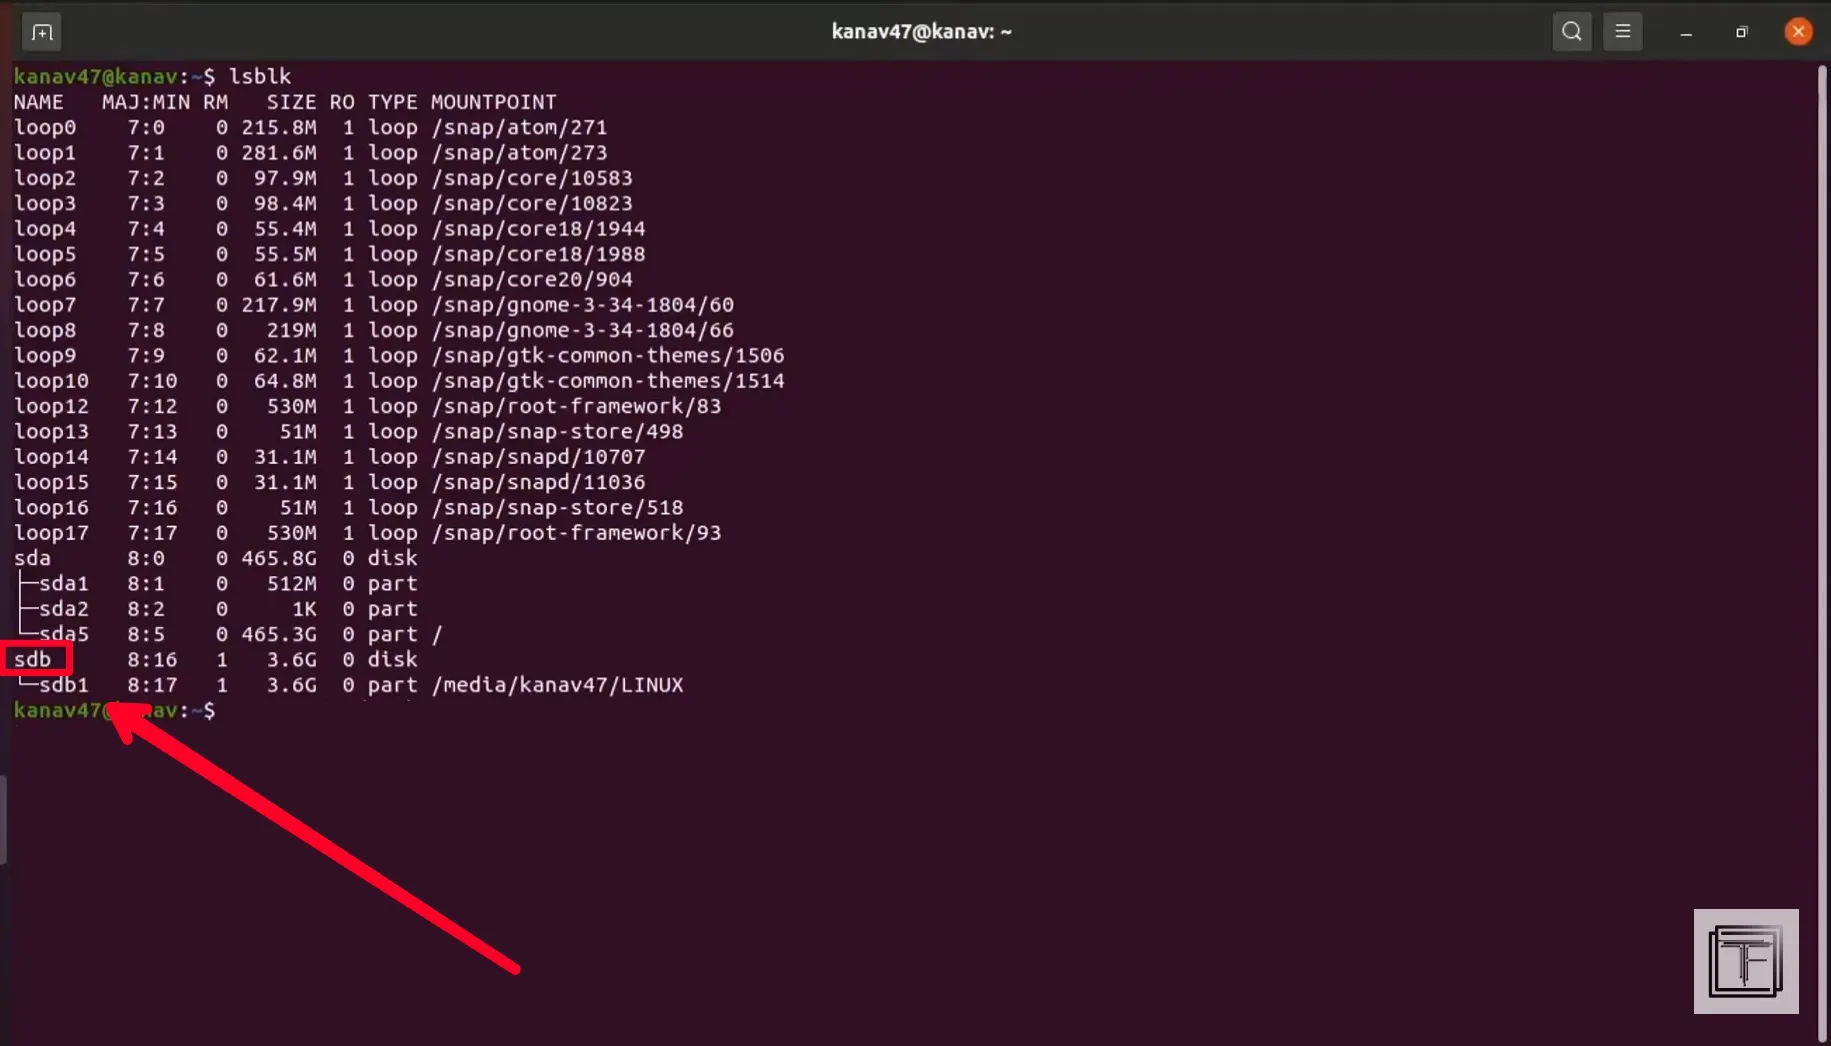
Step 4- Now wait for the dd to be finished.
How to Create Linux Bootable USB with GUI tool (Etcher)
Etcher is a platform of open-source utility for flashing any disk images to USB drives and memory cards. Etcher runs both on Linux as well as on Windows. It is a GUI based software, it will work like Rufus in which we can use the cursor to navigate and we don't have to put command here.
Following steps, we have to follow to create bootable USB in Linux
Step 1- Download the Etcher app from its official website and launch the software
Step 2- Choose the ISO or Image file which you want to flash in your USB drive
Step 3- Now Click on the flash button and Enter your Admin password then wait for few minutes.
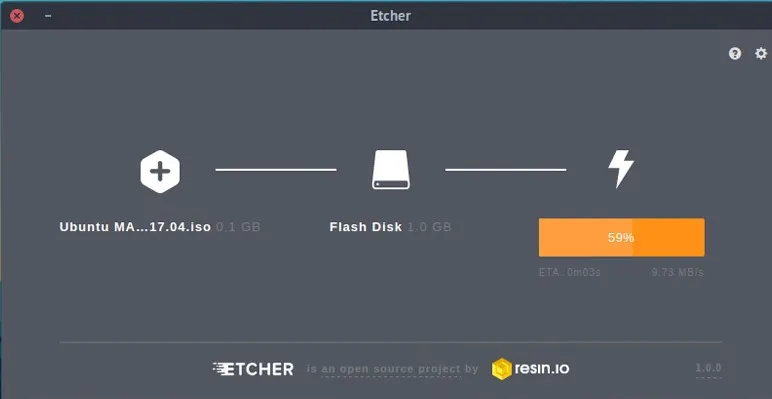
After completing the above steps, You will see the below image
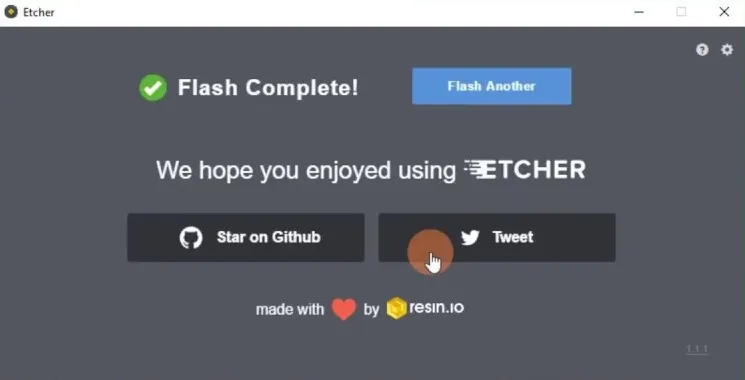
Now again you need to restart your system and press some function key. Repeat the above step.
Conclusion
I hope the above blog is informative for you. Creating bootable USB from iso is not a big task as it can be done in simple steps with the help of some software in windows and some command in the case of Linux.The USB drive should be pre-formatted for most of the cases and try to use the fast 2.0 or 3.0 USB drive as they will run the task much faster. You should read all the instructions carefully while replacing any OS from your computer desktop. For any support, You can contact us.
Related blogs
- What is Computer Network | Basics of Networking [With Practical Examples]
- What is Metasploit Framework | What is Penetration Testing | How to use Metasploit
- What is Machine Learning | How Python is used with Machine Learning